Pistachio Shortbread and Butternut Coffee Cake
Known for her Tiny Bake Sales and as a James Beard Rising Star of 2018, Camille Cogswell has become Western North Carolina’s beloved “pie dealer.” While she works on opening Walnut Family Bakery in Marshall, NC, she continues to host her (now-famous) bake sales, featuring pies, cookies, cakes, and other inventive pastries.

Beyond nourishing the community with her incredible baked goods, Camille has also stepped up to support Marshall’s recovery efforts in the wake of Hurricane Helene. This tight-knit town, just north of Asheville, suffered devastating losses to many local businesses. Yet, the resilience of Marshall’s people offers hope for a bright future, leaving everyone forever connected.
To aid in the rebuilding efforts, Camille has been traveling to share her talent and treats, raising funds for Marshall along the way. Just in time for the holiday baking season, she’s graciously shared a few of her favorite recipes. Be sure to follow her here to stay updated on her journey and the opening of Walnut Family Bakery.
Pistachio Shortbread Cookies with Campari Glaze
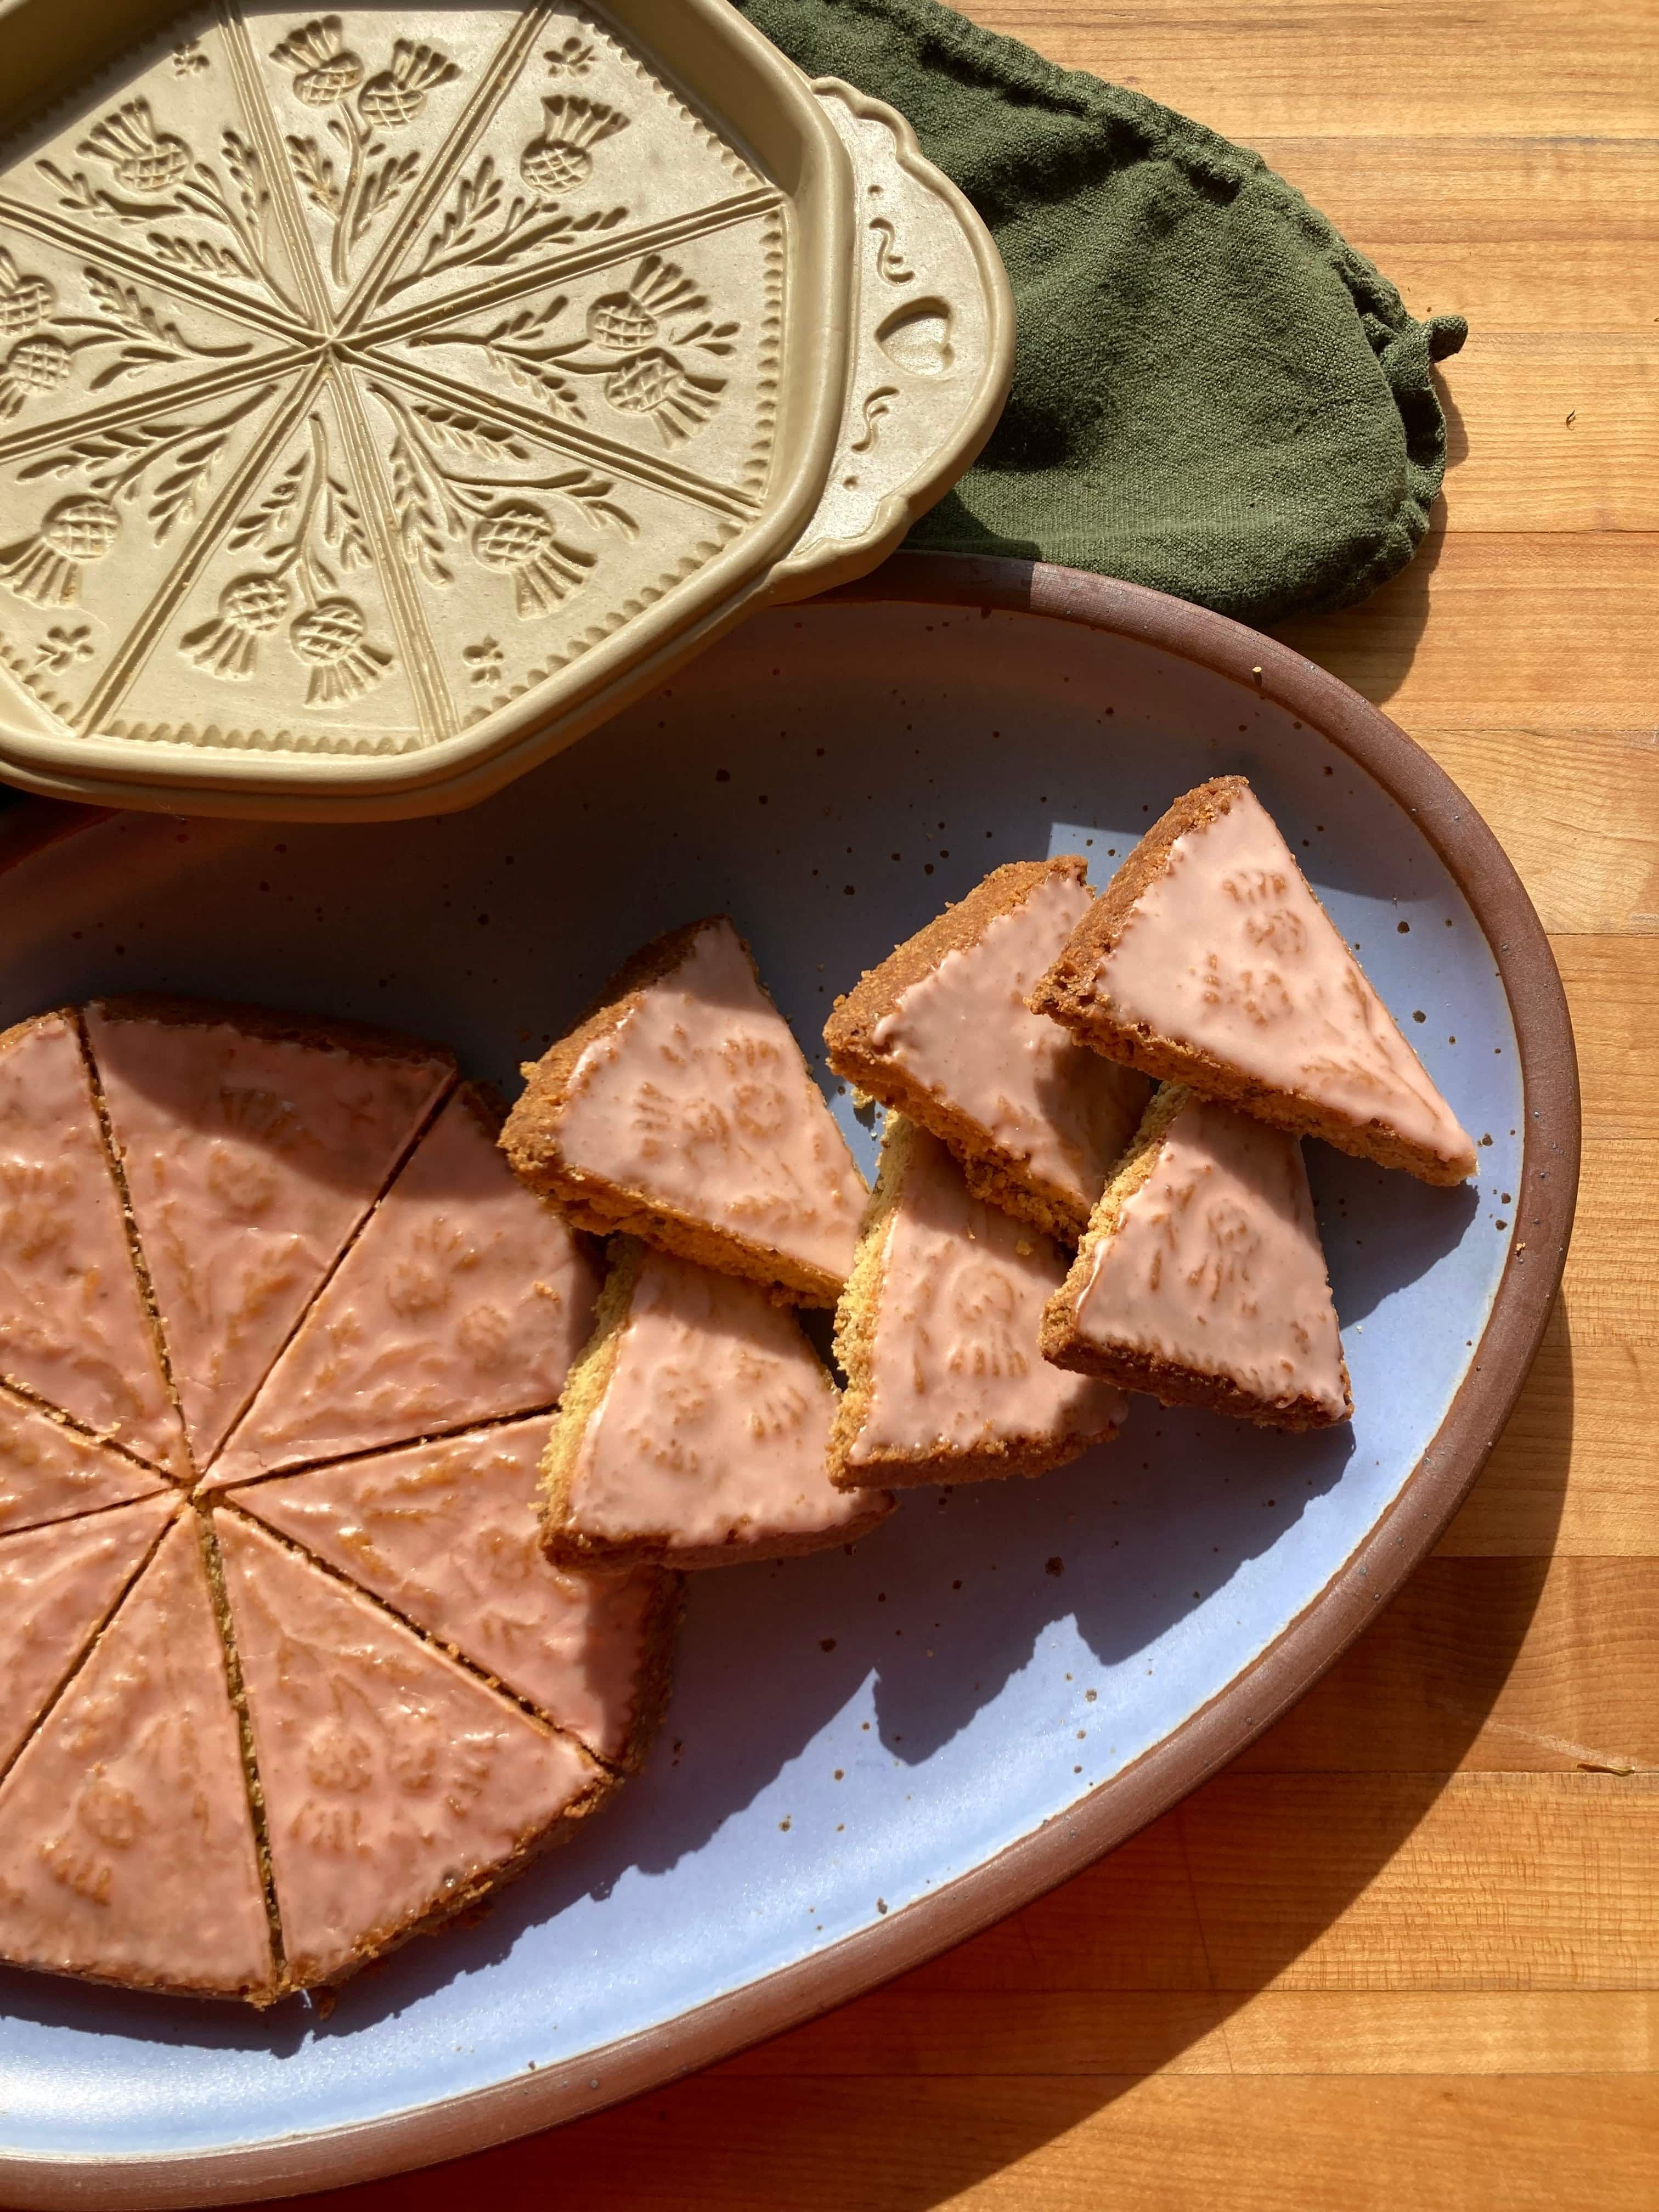
Yield: 8 shortbread wedges from 1 ceramic shortbread pan
For the Pistachio Shortbread:
- 55 g (½ c) Raw Pistachios
- 135 g (1 c + 1 Tbsp) AP Flour
- 125 g (9 Tablespoons) Unsalted Butter, softened
- 55 g (¼ c) Sugar
- ⅛ tsp Kosher Salt
- ½ ea Zest of an Orange
For the Campari Glaze:
- 85 g (¾ c) Confectioner’s Sugar
- 20 g (1 ½ Tbsp) Campari
Directions:
1. Preheat the oven to 350’F. Spray your ceramic shortbread pan with nonstick baking spray.
2. Pulse the pistachios in a food processor until finely ground and put them in a small bowl with the flour. Set aside.
3. In the bowl of a stand mixer, combine the soft butter, sugar, salt, and orange zest. Using the paddle attachment, cream the mixture on medium speed until the mixture looks smooth and a little bit fluffier, about 2-3 minutes. Stop once or twice to scrape down the sides of the bowl and the paddle with a rubber spatula to help everything get incorporated.
4. Add the flour and pistachios to the mixer all at once and mix on low speed until there are no dry bits left and the mixture starts to come together as a dough.
5. Scatter pieces of the dough on top of the shortbread pan and then begin pressing it firmly into the pan with your palm, spreading and flattening the dough so it covers the whole pan evenly. Press especially firmly on top of the areas that have decoration to make sure that the dough fills all the nooks and crannies of the mold.
6. Place the pan on the center rack of the oven and bake for 35 - 45 minutes, until the shortbread is deeply golden brown all over. When in doubt, it’s better to slightly overbake than underbake - underbaking will mean that your shortbread won’t come cleanly out of the pan.
7. Remove the shortbread pan from the oven and place on a wire rack. Immediately run a butter knife around the outer edges of the pan to loosen the cookie from the sides. Let the shortbread cool on the rack for 15 minutes.
8. Place a small cutting board on top of the shortbread pan and then place one hand firmly on top of the cutting board and one hand firmly on the bottom of the shortbread pan, and confidently & quickly flip them over. Rap the cutting board on the counter a couple of times to loosen the cookie and then lift the shortbread pan off, leaving the unmolded shortbread on the cutting board. Cut the shortbread into wedges with a knife, following the lines of the mold, then let them cool completely before glazing.
9. Make the glaze: In a small bowl, combine the powdered sugar and the Campari, whisking until smooth. The glaze should be the consistency of thin honey. Add more powdered sugar to thicken or more Campari to thin the mixture as necessary.
10. Using a pastry brush, brush the glaze on the top of the shortbread wedges.
11. Let the glaze set, at least 30 minutes then arrange them on your favorite East Fork Pottery plate and enjoy! Kept in an airtight container on the counter, the cookies will stay delicious for up to a week.
* Note: You can substitute the Campari for another amaro if you don’t have it; Aperol or Limoncello would be lovely. You can also substitute it with pomegranate juice or lemon juice to make it non-alcoholic.
Butternut Squash Coffee Cake
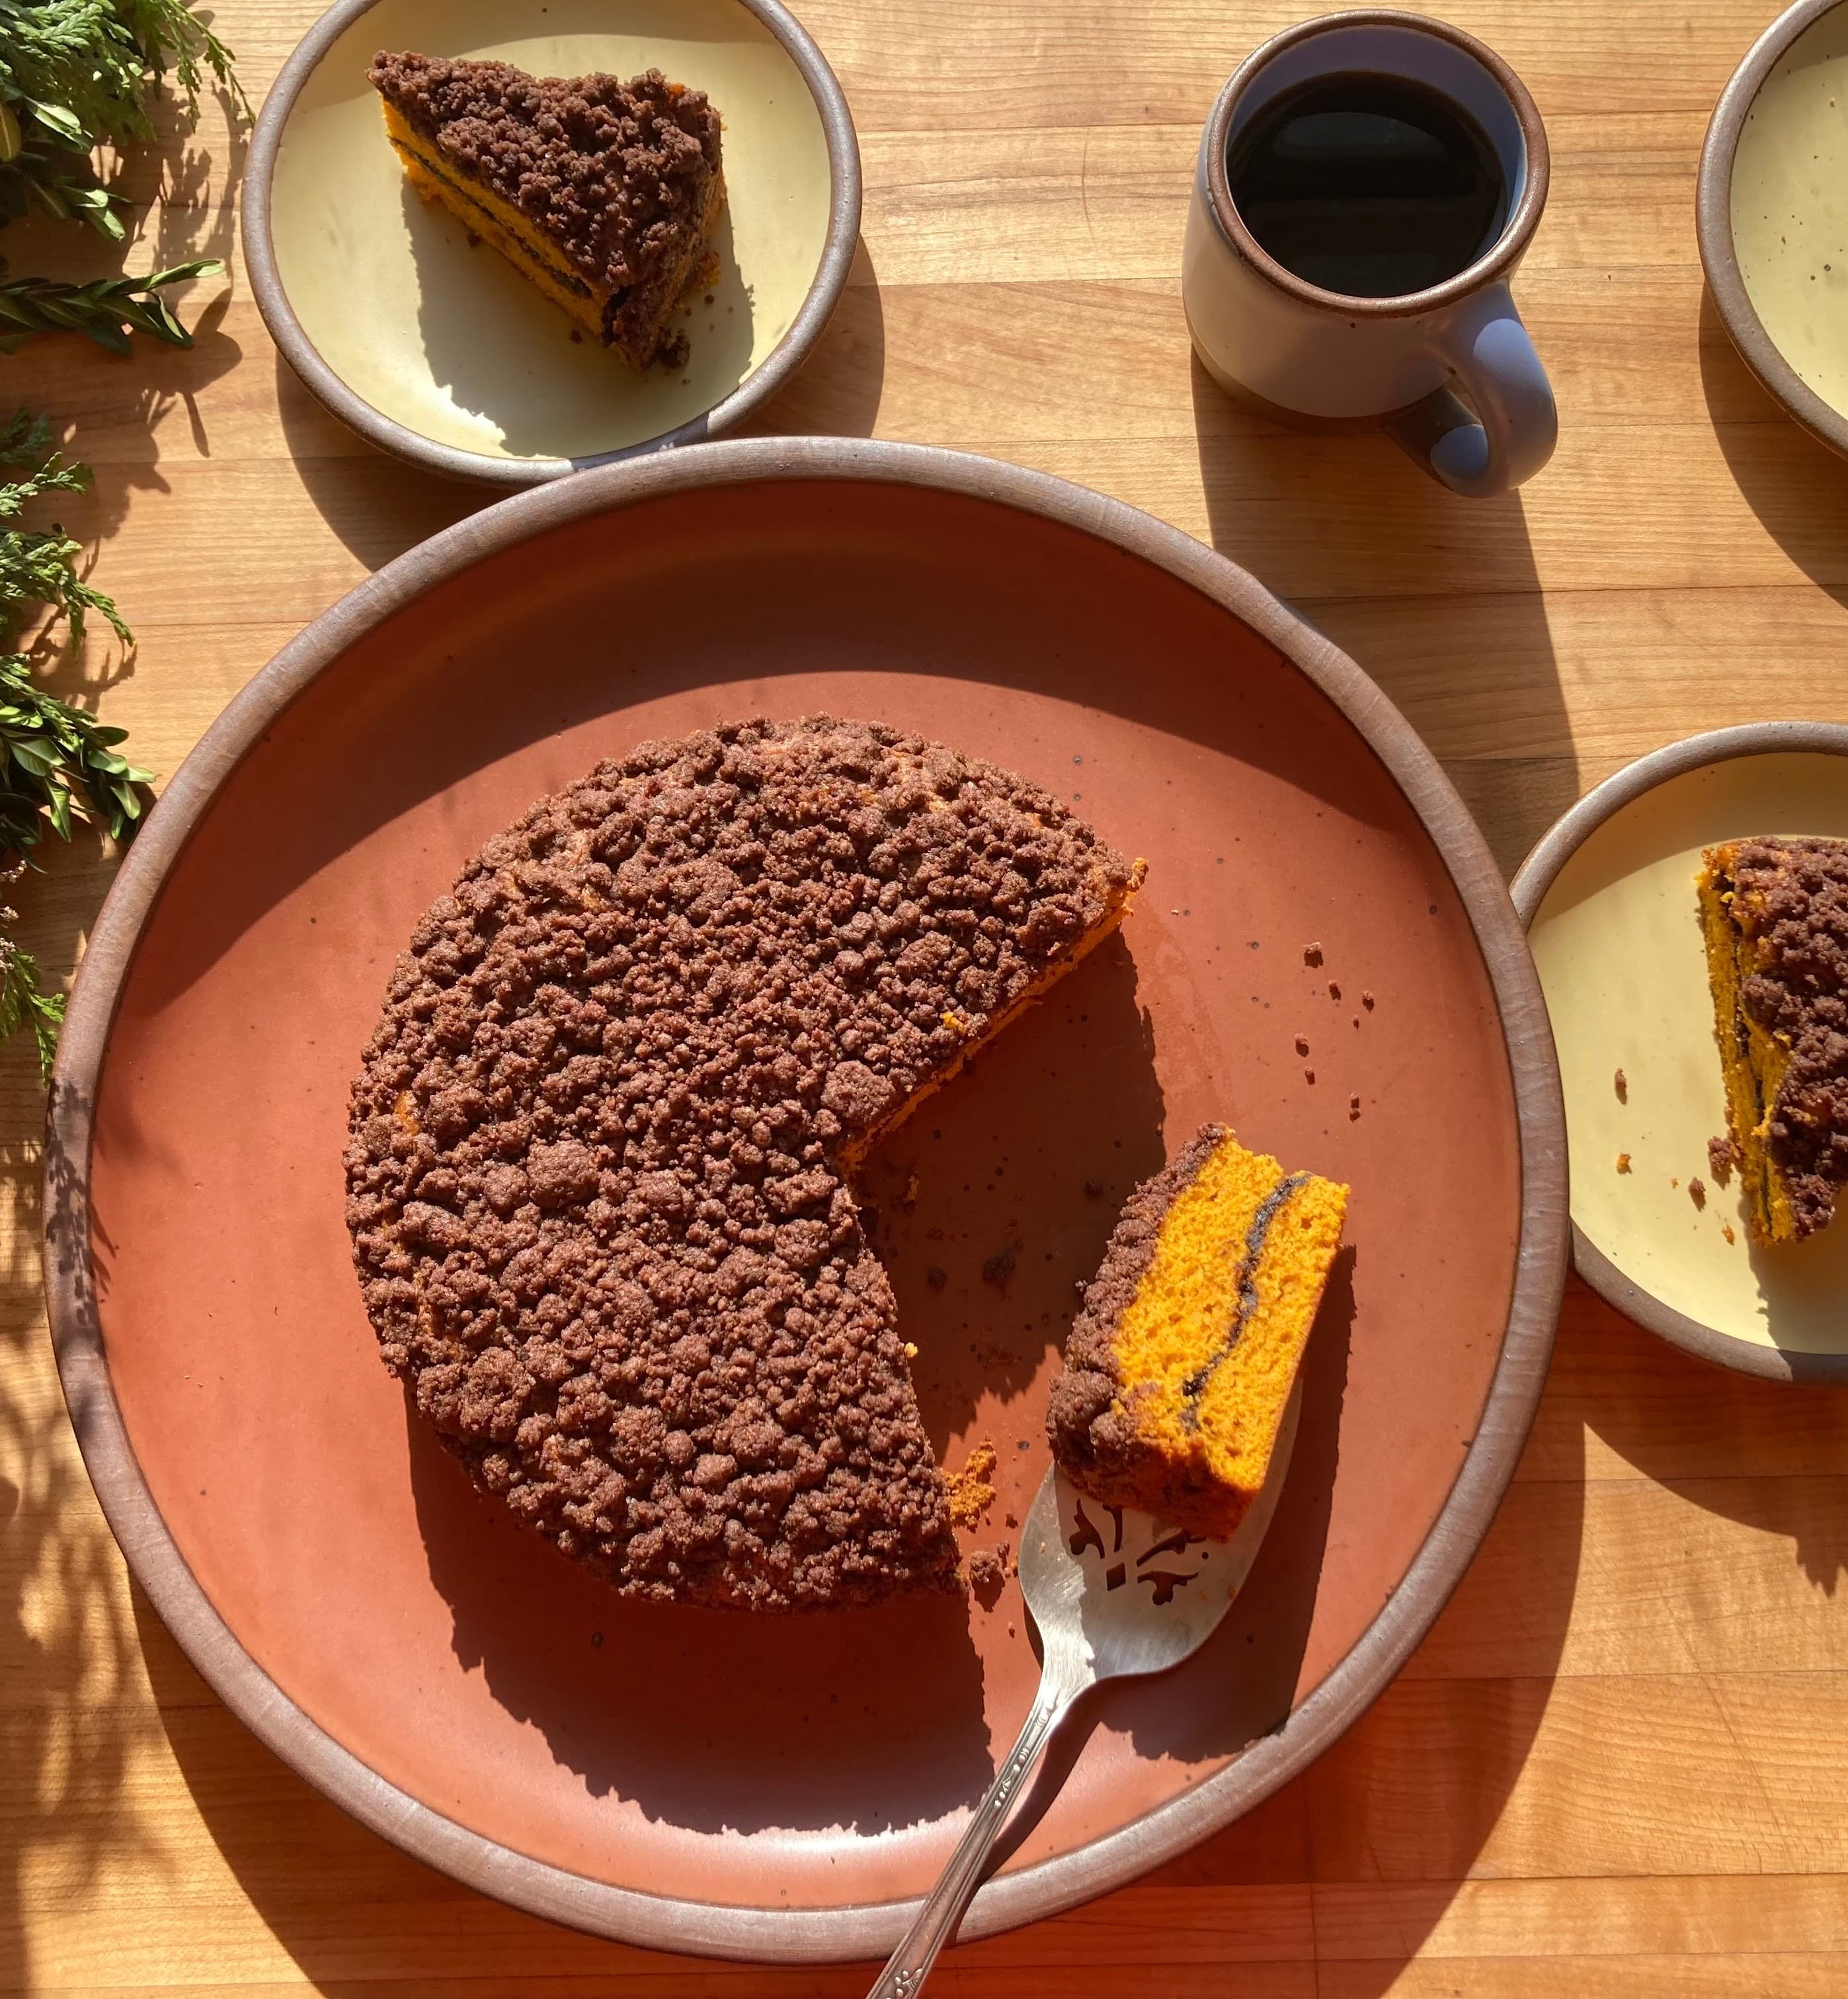
Yield: 1 8.5” cake
For the Butternut Squash Puree:
- 1 ea Small/Medium Butternut Squash
- 1 Tbsp Olive Oil
For the Filling & Topping:
- 53 g (¼ c) Brown Sugar
- 1 ½ Tbsp Cocoa Powder
- ¼ tsp Cinnamon, ground
- ½ tsp Cardamom, ground
- ¾ tsp Instant Coffee or Espresso Powder
- 30 g (¼ c) AP Flour
- 13 g (1 Tbsp) Granulated Sugar
- 13 g (1 Tbsp) Brown Sugar
- ¼ tsp Kosher Salt
- 26 g (2 Tbsp) Butter, melted
For the Cake:
- 75 g (5 ½ Tbsp) Unsalted Butter, softened
- 100 g (½ c) Brown Sugar
- 1 ¼ tsp Kosher Salt
- 1 ½ tsp Baking Powder
- ½ tsp Baking Soda
- 80 g (⅓ c + 1 Tbsp) Granulated Sugar
- 2 ea Eggs
- 1 tsp Vanilla Extract
- 200 g (1 ⅔ c) AP Flour
- 250 g (1 c + 2 Tbsp) Butternut Squash Puree
Directions:
Make the Butternut Squash Puree (3 hours ahead of making the cake, or the day before):
1. Preheat the oven to 400’F. Cut the stem off of the butternut squash, then cut the squash in half from top to bottom. Scoop out the seeds, discarding them. Place the two halves, cut side up, on a baking tray, and drizzle with the olive oil. Roast the squash in the oven until completely soft and tender, about 1 and a half hours. A knife inserted into any part of the squash shouldn’t meet any resistance. Remove the squash from the oven and let cool completely.
2. Once cool, scoop the squash flesh out of its hard skin and into a food processor. Puree it until it’s completely smooth and set aside for making your cake later. The puree can be made up to 4 days ahead of time and kept in the refrigerator.
Make the Filling & Topping:
1. In a medium sized bowl, combine the first amount of brown sugar, cocoa powder, cinnamon, cardamom, and coffee powder with a spoon. Pour half of this mixture into another small bowl and set aside.
2. To the half still in the original bowl, add the flour, both remaining sugars, and salt, and mix together with the spoon. Pour your melted butter into the bowl and mix with your spoon until the butter is fully incorporated and you have a crumbly mixture. Put this bowl of crumble into the refrigerator while you make the cake.
Make the Cake:
1. Preheat your oven to 350’F. Cut two strips of parchment paper about 12” long and 2” wide. Also cut a circle of parchment paper the same size as the bottom of your 8.5” diameter spun-iron cake pan. Spray the cake pan with nonstick baking spray, then create handles to remove your cake later by laying the strips of parchment across each other in an “X”, and pressing them flush with the bottom and sides of the pan. Place your circle of parchment on top of this, and then spray the parchment with more baking spray.
2. In the bowl of a stand mixer, combine the soft butter, brown sugar, salt, baking powder, and baking soda. Using the paddle attachment, cream them together until light and fluffy, about 5 minutes, stopping occasionally to scrape down the sides of the bowl and the paddle with a rubber spatula. Add the granulated sugar, eggs, and vanilla extract and mix on medium speed for 1 full minute. Scrape down the bowl again.
3. Add half of the flour and mix on low speed just until incorporated. Add all of the butternut squash puree and mix together fully. Add the remaining flour and mix just until incorporated. Scrape down the bowl and paddle and then give it just another few seconds of mixing to make sure everything is homogenous.
4. Put half of the cake mixture into the baking pan and smooth it out into an even layer. Sprinkle your spiced cocoa brown sugar filling evenly over the cake. Put the remaining cake batter on top and smooth it out into another even layer. Take your crumble topping from the fridge and sprinkle it evenly and liberally all over the top.
5. Bake the coffee cake in the center rack of your oven until it’s puffed, springing back to the touch in the center, and a toothpick inserted into the center comes out clean, about 45 minutes, rotating the pan halfway through baking.
6. When the cake is done baking, remove the pan from the oven and let it cool completely on a wire rack.
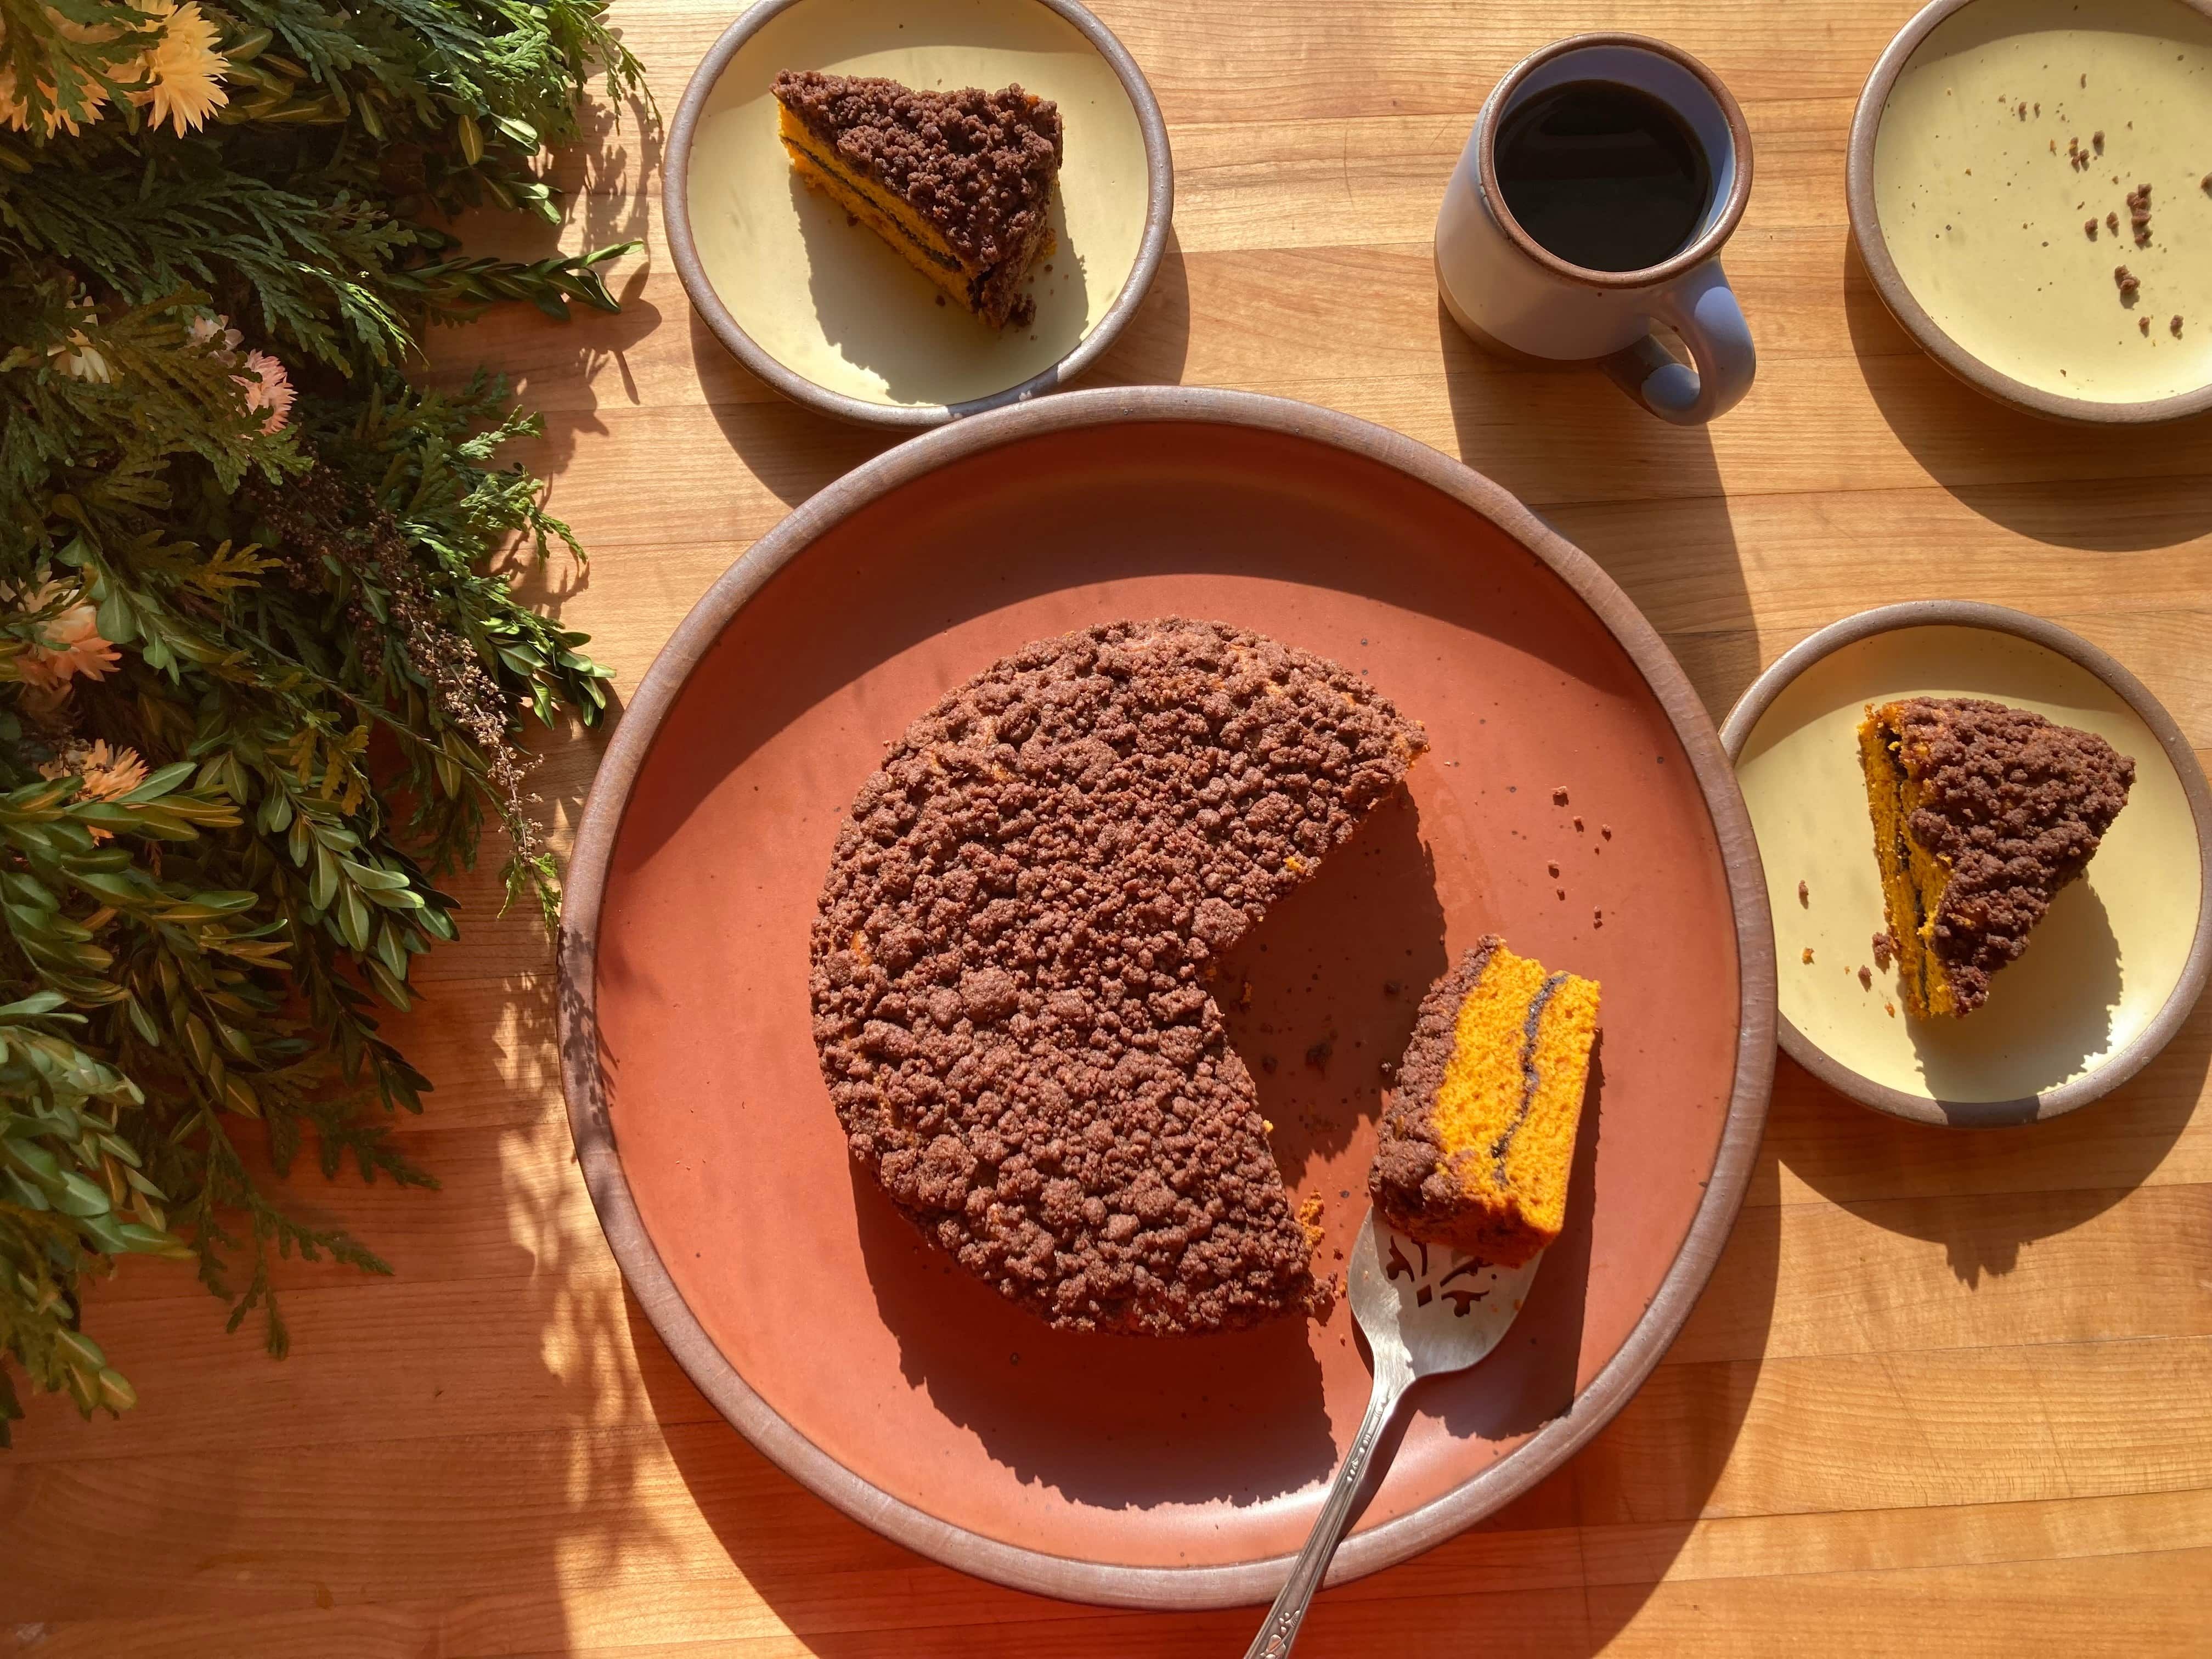
7. Run a butter knife along the sides of the pan to loosen any bits that may be clinging, then firmly grasp two parchment strips in each hand and lift the cake out of the pan and onto your favorite East Fork Pottery serving plate. Remove the strips of parchment by pulling them out from underneath the cake. When you’re ready to serve the cake, slice it into wedges and enjoy! Kept in an airtight container on the counter, the coffee cake will stay delicious for up to 5 days.
